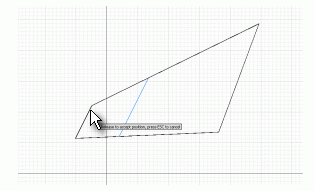
Understanding sketch constraints is a critical aspect of working effectively with Autodesk Inventor. This tutorial explores the impact of geometric and dimensional constraints on a simple sketch. To get started:
Close any files that are open in Autodesk Inventor.
Click File Open.
From the Project File drop-down menu, select Tutorial_Files.ipj to set your active project.
Double-click the file named sk1.ipt (scroll to the right to find this file in the display).
Double-click Sketch1 in the browser to open the sketch for edit.
Select the Look At tool from the Autodesk Inventor standard toolbar, and click Sketch1 in the browser to orient your sketch normal to the screen.
Select the Zoom tool from the Autodesk Inventor standard toolbar. Zoom out so that the initial screen image (on the left) looks more like the screen (on the right). The blue area represents space around the sketch.
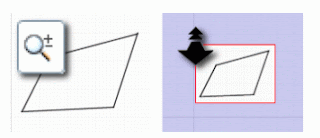
The sketch used in this tutorial contains four straight line segments drawn so the line endpoints are constrained to be coincident. Otherwise, the geometry is unconstrained.
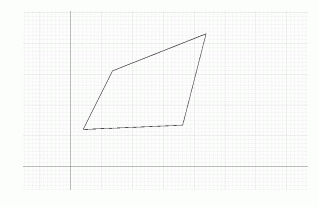
Drag all the geometry
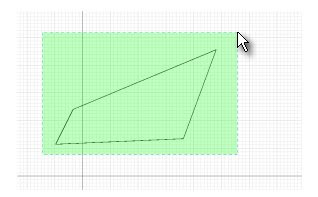
Move all the lines:
Move your mouse cursor to the left and below the sketch geometry.
Click and hold the mouse button down, and then drag up and toward the right until the selection covers all the geometry.
Release the mouse button to select geometry.
Move your mouse cursor over one of the lines.
When the line highlights, click and hold the mouse button down, and then drag up and toward the right.
Release the mouse button to select the new position.
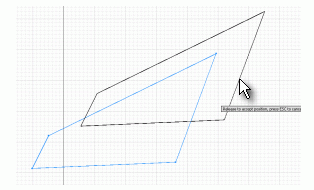
The program repositions all the selected geometry without changing the size or angle of any of the line segments.
Click in your graphic window to cancel the selection of all four line segments before proceeding to the next step.
Drag geometry
Move the endpoint of one of the lines:
Move your mouse cursor over the top-most endpoint.
When it highlights, click and hold the mouse button down, and then drag the point up and toward the right.
Release the mouse button to select the new position.
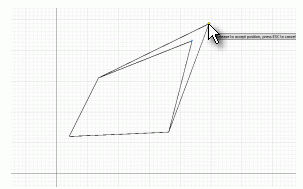
Two line segments lengthen to adjust to the new position specified for the endpoint.
